This post gives a practical, step-by-step approach for small businesses and DoD contractors to prioritize vulnerabilities and craft remediation plans that satisfy NIST SP 800-171 Rev.2 / CMMC 2.0 Level 2 (CA.L2-3.12.2) expectations — including concrete technical actions, timelines, tools, and evidence you can use in an assessment.
Why prioritization and remediation planning matters for Compliance Framework
CA.L2-3.12.2 expects organizations to continuously identify, prioritize, and remediate vulnerabilities affecting systems that handle Controlled Unclassified Information (CUI). For a small business this is not just a checkbox: poor prioritization wastes scarce IT resources and leaves high-impact weaknesses exposed. Proper prioritization ties technical severity to business impact (which systems process CUI? which are internet-facing?) and creates auditable remediation timelines.
Step-by-step process to prioritize vulnerabilities
1) Maintain a current asset inventory
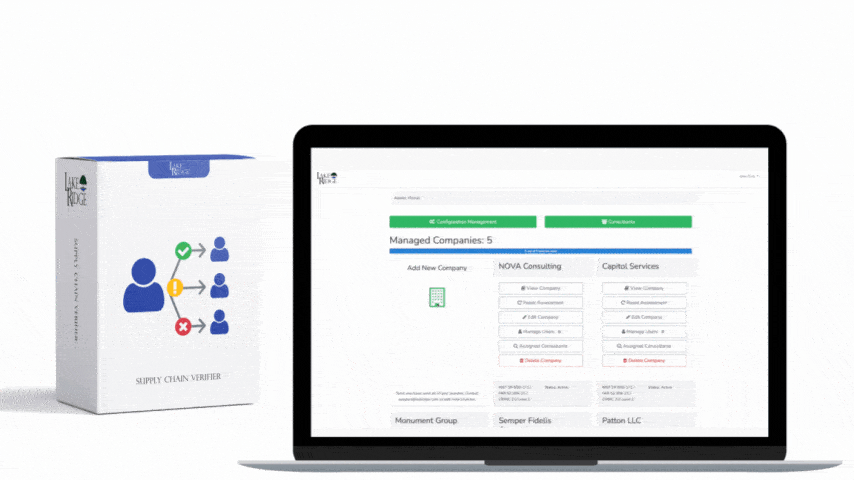
Start by maintaining an authoritative inventory of hardware, software, and services (including cloud resources) and tag assets that handle CUI. Use CMDBs, spreadsheets, or lightweight tools (Ralph, GLPI, or a maintained Google Sheet) with these columns: asset owner, criticality (High/Med/Low), exposure (Internet/Internal), software versions, and last scan date. Prioritization cannot be accurate without this mapping.
2) Scan with authenticated, frequent, and contextual methods
Run authenticated vulnerability scans for internal hosts weekly or monthly depending on change cadence; run external scans weekly for internet-facing assets. Use tools such as Nessus/Qualys/OpenVAS for vulnerability detection, enable credentialed scans to reduce false positives, and supplement with targeted web app scanners (OWASP ZAP, Burp) for apps. Feed results into a central tracker (Jira, ServiceNow, or a vulnerability management spreadsheet) and normalize to CVE, CVSS, and vendor advisories.
3) Apply a risk-based prioritization matrix
Use a simple matrix that combines CVSS base score, asset criticality, exposure, presence of active exploit or public PoC, and business impact. Example SLA rules for a small business (adjust to risk appetite): CVSS ≥ 9 OR CISA KEV-listed OR known active exploit → Remediate within 48–72 hours; CVSS 7–8.9 and internet-facing → Remediate within 7 days; CVSS 4–6.9 on non-critical internal → Remediate within 30 days; CVSS <4 → Track and remediate within 90 days. Always escalate exceptions with documented risk acceptance and compensating controls (network segmentation, WAF, additional monitoring).
How to build the remediation plan — practical steps
Remediation plan template
A remediation plan should include: vulnerability identifier (CVE), affected asset(s) and owner, business impact classification, prioritized due date, remediation action (patch, configuration change, remove service), test plan, rollback plan, validation steps (re-scan/test), and audit evidence location (ticket ID, change record). For each item, assign a single accountable owner and a verification owner for re-testing.
Technical implementation details
For patching: stage updates in a test environment, snapshot VMs or use backups, and deploy via your patch management system (WSUS, SCCM, Jamf, or cloud provider patching). For configuration issues: apply IaC updates (Terraform/Ansible) and enforce via CI/CD so drift is reduced. When immediate patching is not feasible, implement temporary mitigations such as firewall rules, micro-segmentation, access control tightening, or virtual patching via WAF. Record deployment GUIDs, change IDs, and logs to prove remediation occurred.
Real-world small business scenario
Example: A small defense subcontractor discovers a critical RCE on an internet-facing file share (CVE with public exploit). Using the matrix, they categorize it as critical, spin up an emergency ticket, and within 24 hours apply a vendor hotfix to the server in maintenance window after snapshotting and testing in a staging VM. While patching is validated, they add a temporary firewall ACL to block the vulnerable service from the internet and enable increased IDS/IPS signatures. After patching, an authenticated re-scan and a penetration test confirm remediation. The team documents CVE, patch KB number, change ticket, scan results, and the risk acceptance form for audit purposes.
Compliance tips, evidence, and best practices
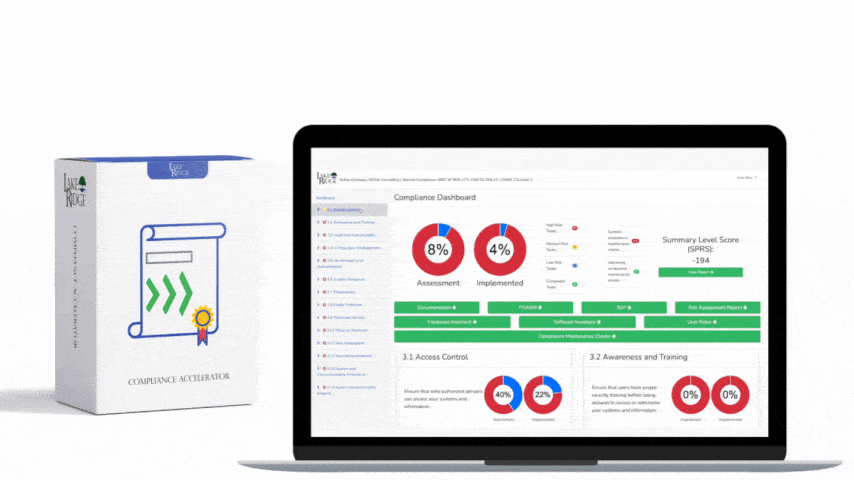
Maintain an approved Vulnerability Management Policy that describes roles, scanning cadence, prioritization rules, and exception procedures. Evidence to retain for assessors includes raw and normalized scan reports (with authenticated scan logs), remediation tickets with dates and approvers, change management records, re-scan results, risk acceptance forms, and any mitigation configuration (firewall rules, WAF logs). Integrate vulnerability findings with your SIEM and automate alerts for critical thresholds (e.g., any new KEV hit triggers a pager).
Risks of not implementing CA.L2-3.12.2 effectively
Failure to prioritize and remediate leaves CUI exposed to exploitation, increasing the risk of data breaches, contract loss, government penalties, and damage to reputation. For defense contractors, missed vulnerabilities can lead to removal from DoD supply chains. Operationally, unresolved critical flaws can cause ransomware, lateral movement, and extended downtime — outcomes that are far costlier than disciplined remediation processes.
In summary, meeting CA.L2-3.12.2 is about operationalizing vulnerability management: combine accurate asset inventory, authenticated scanning, a risk-based prioritization matrix, documented remediation plans with timelines, compensating controls for exceptions, automated evidence collection, and a policy that ties it together. For small businesses, start simple, use off-the-shelf scanners and ticketing, codify prioritization thresholds, and build the habit of re-scanning and documenting — that discipline delivers both security and the audit evidence needed for NIST SP 800-171 / CMMC 2.0 compliance.